网站首页
HOME
关于我们
ABOUT US
星空体育·(中国)官方网站
PRODUCT
案例展示
CASE
NEWS
联系我们
CONTACT US
— 用户的需求,我们的追求 —
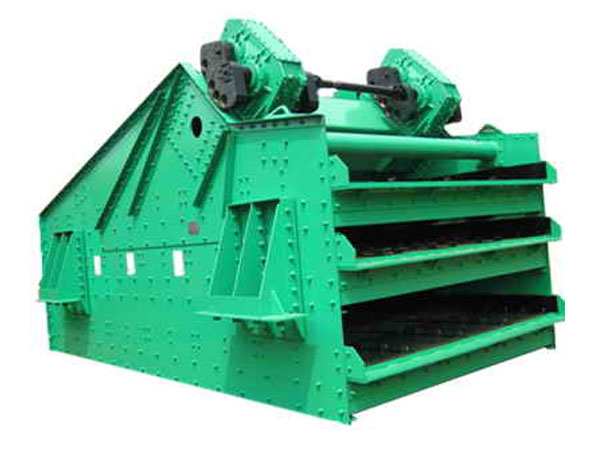
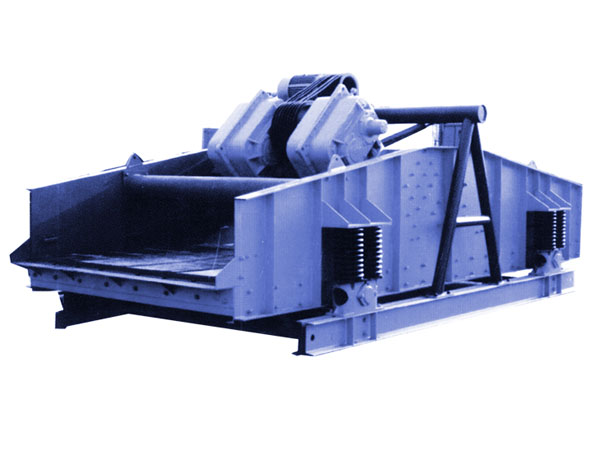
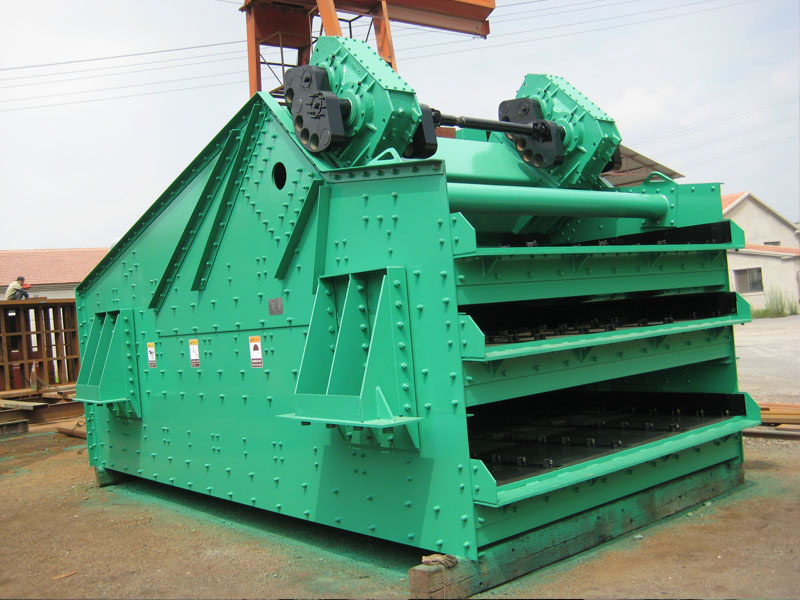
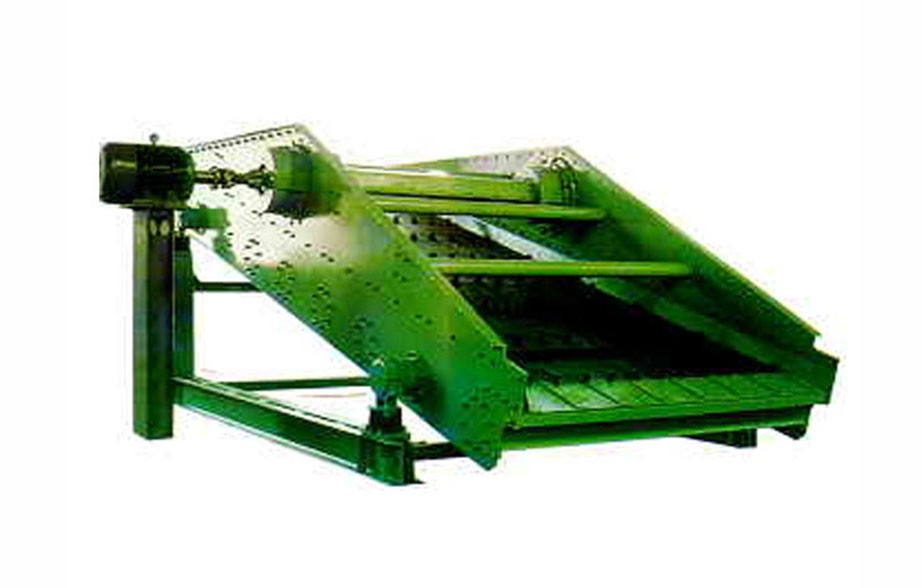
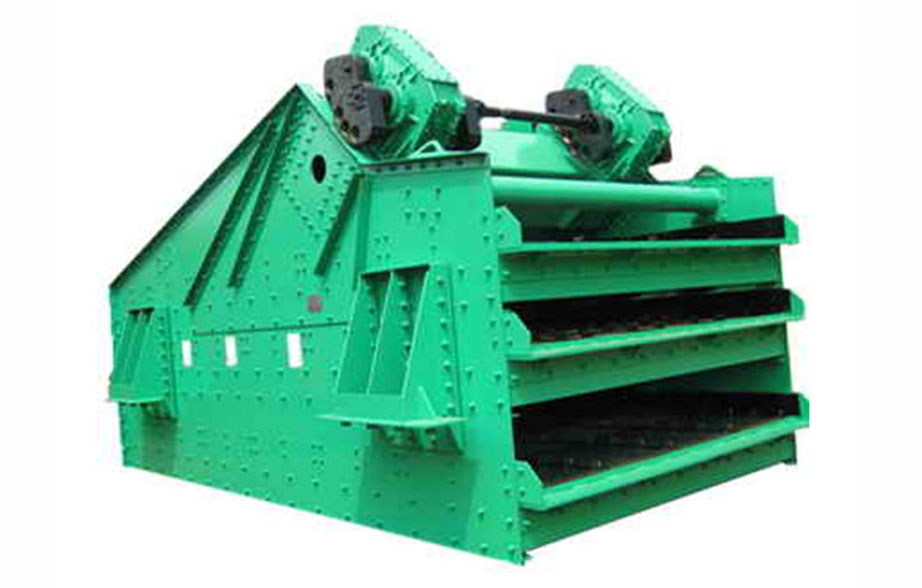
DZS系列大型直线振动筛
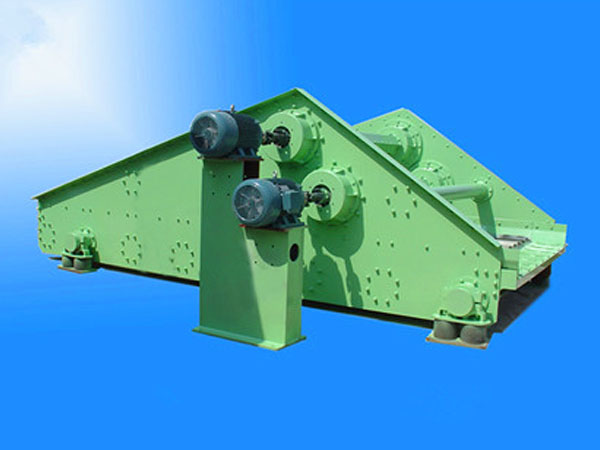
DZX系列香蕉形多段筛面直线振动筛
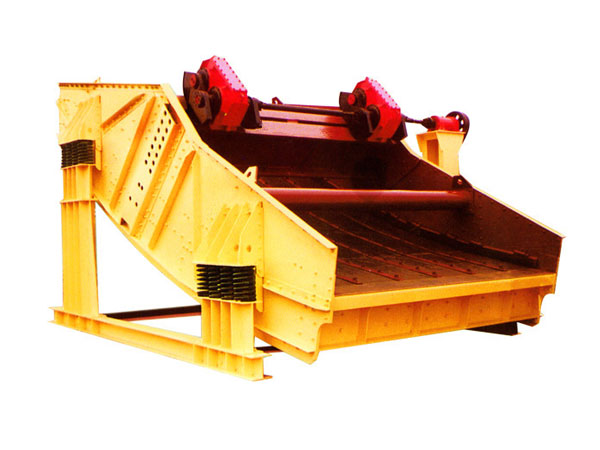
YA系列圆振动筛
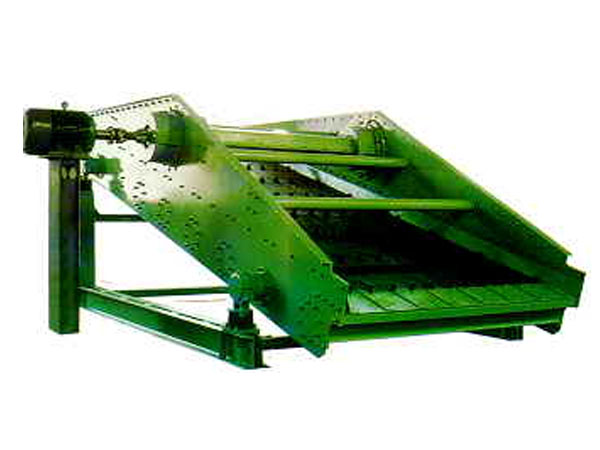
USL系列直线振筛
USK系列圆振动筛
ZKX系列直线振动筛
READ MORE
湖北荆门矿业——GZG惯性振动给料机
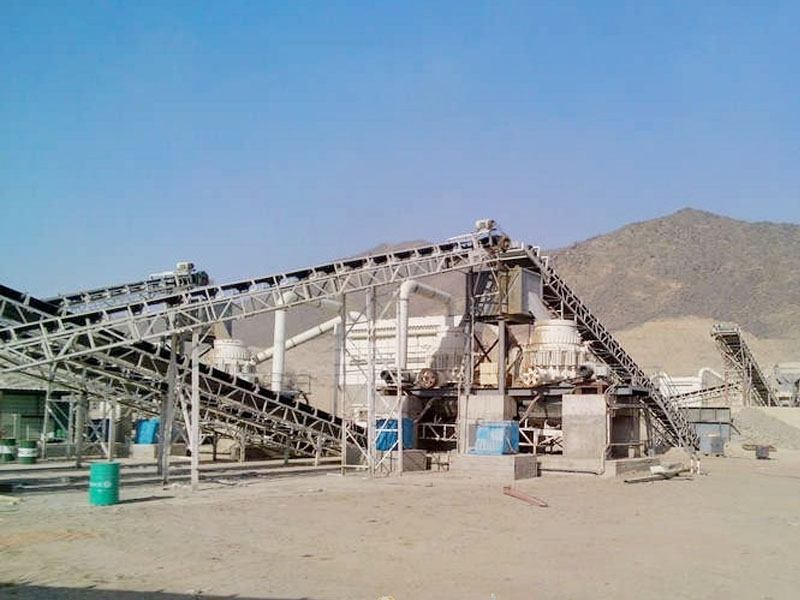
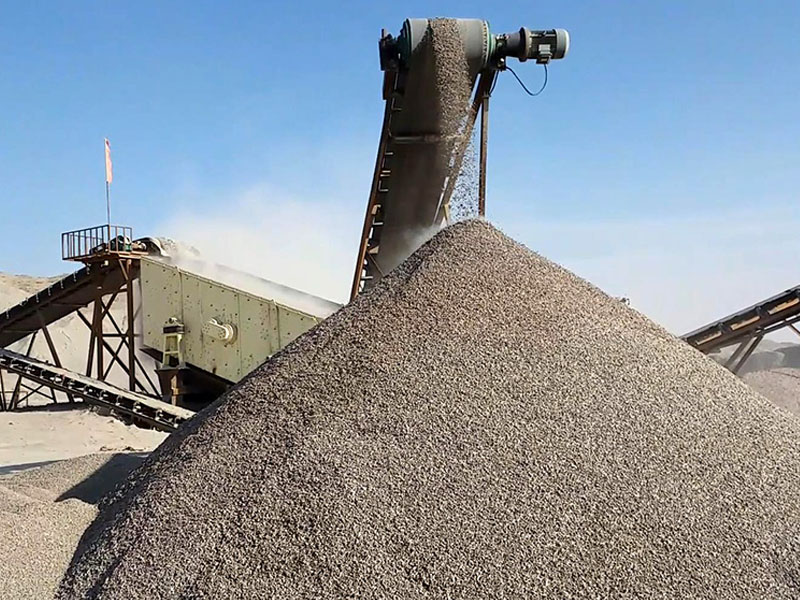
朝阳建平碎石生产线——3YA2460圆振
葫芦岛喀左碎石生产线——DYS3670大
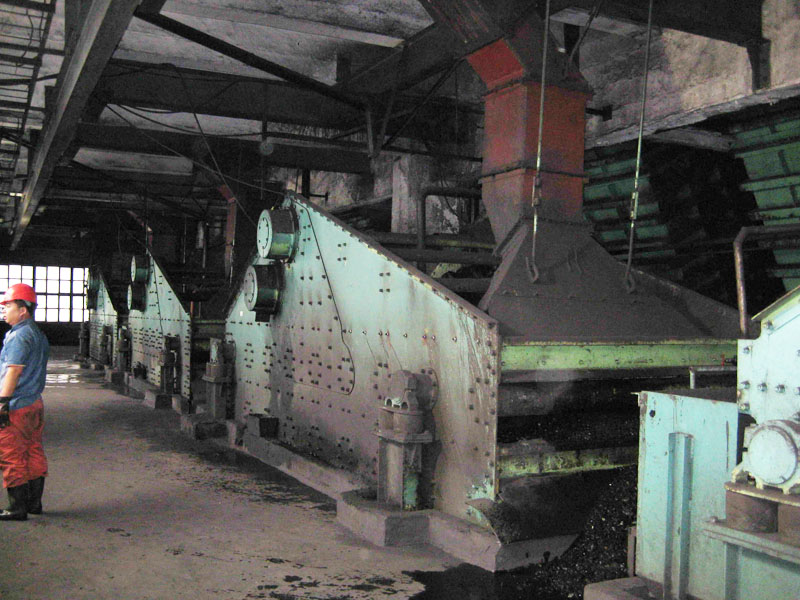
神华准能集团黑岱沟洗煤厂——2USL24
发往宁夏平罗光辉煤炭有限公司——3DZS
星空体育·(中国)官方网站创建于二○○六年九月二十七日,目前拥有职工276人,其中工程技术人员29人(含高级职称技术人员11人),拥有工人技师13人。公司资产总值7700余万元...
MORE
产品展示
USER'S NEEDS, OUR PURSUIT
2020-06
有时候,我们在使用振动筛一段时间以后,会遇到振动筛筛网过快破损的问题,这是因为什么造成的呢?
平常工作的时候,机械设备有时候出现问题是比较正常的现象,那么,直线振动筛出现问题的时候要怎么去进行修理呢?
2019-09
星空体育·(中国)官方网站创建于二○○六年九月二十七日,目前拥有职工276人,其中工程技术人员29人(含高级职称技术人员11人),拥有工人技师13人。公司资产总值7700余万元,固定资产5200万...